 |
| Keyboard. And computer... |
Stripping it down reveals something that every retro computer nerd... er... enthusiast dreads to see. A keyboard that relies on conductive pads on sponge pads. They. Are. Shit. I've mentioned these in one of the previous blogs on this machine but I'll say it again. This type of keyboard switch is cheap and almost certainly destined to fail as the sponge always breaks down resulting in the keys just not working.
 |
| Urgh! Capacitive pads. Bleurgh! |
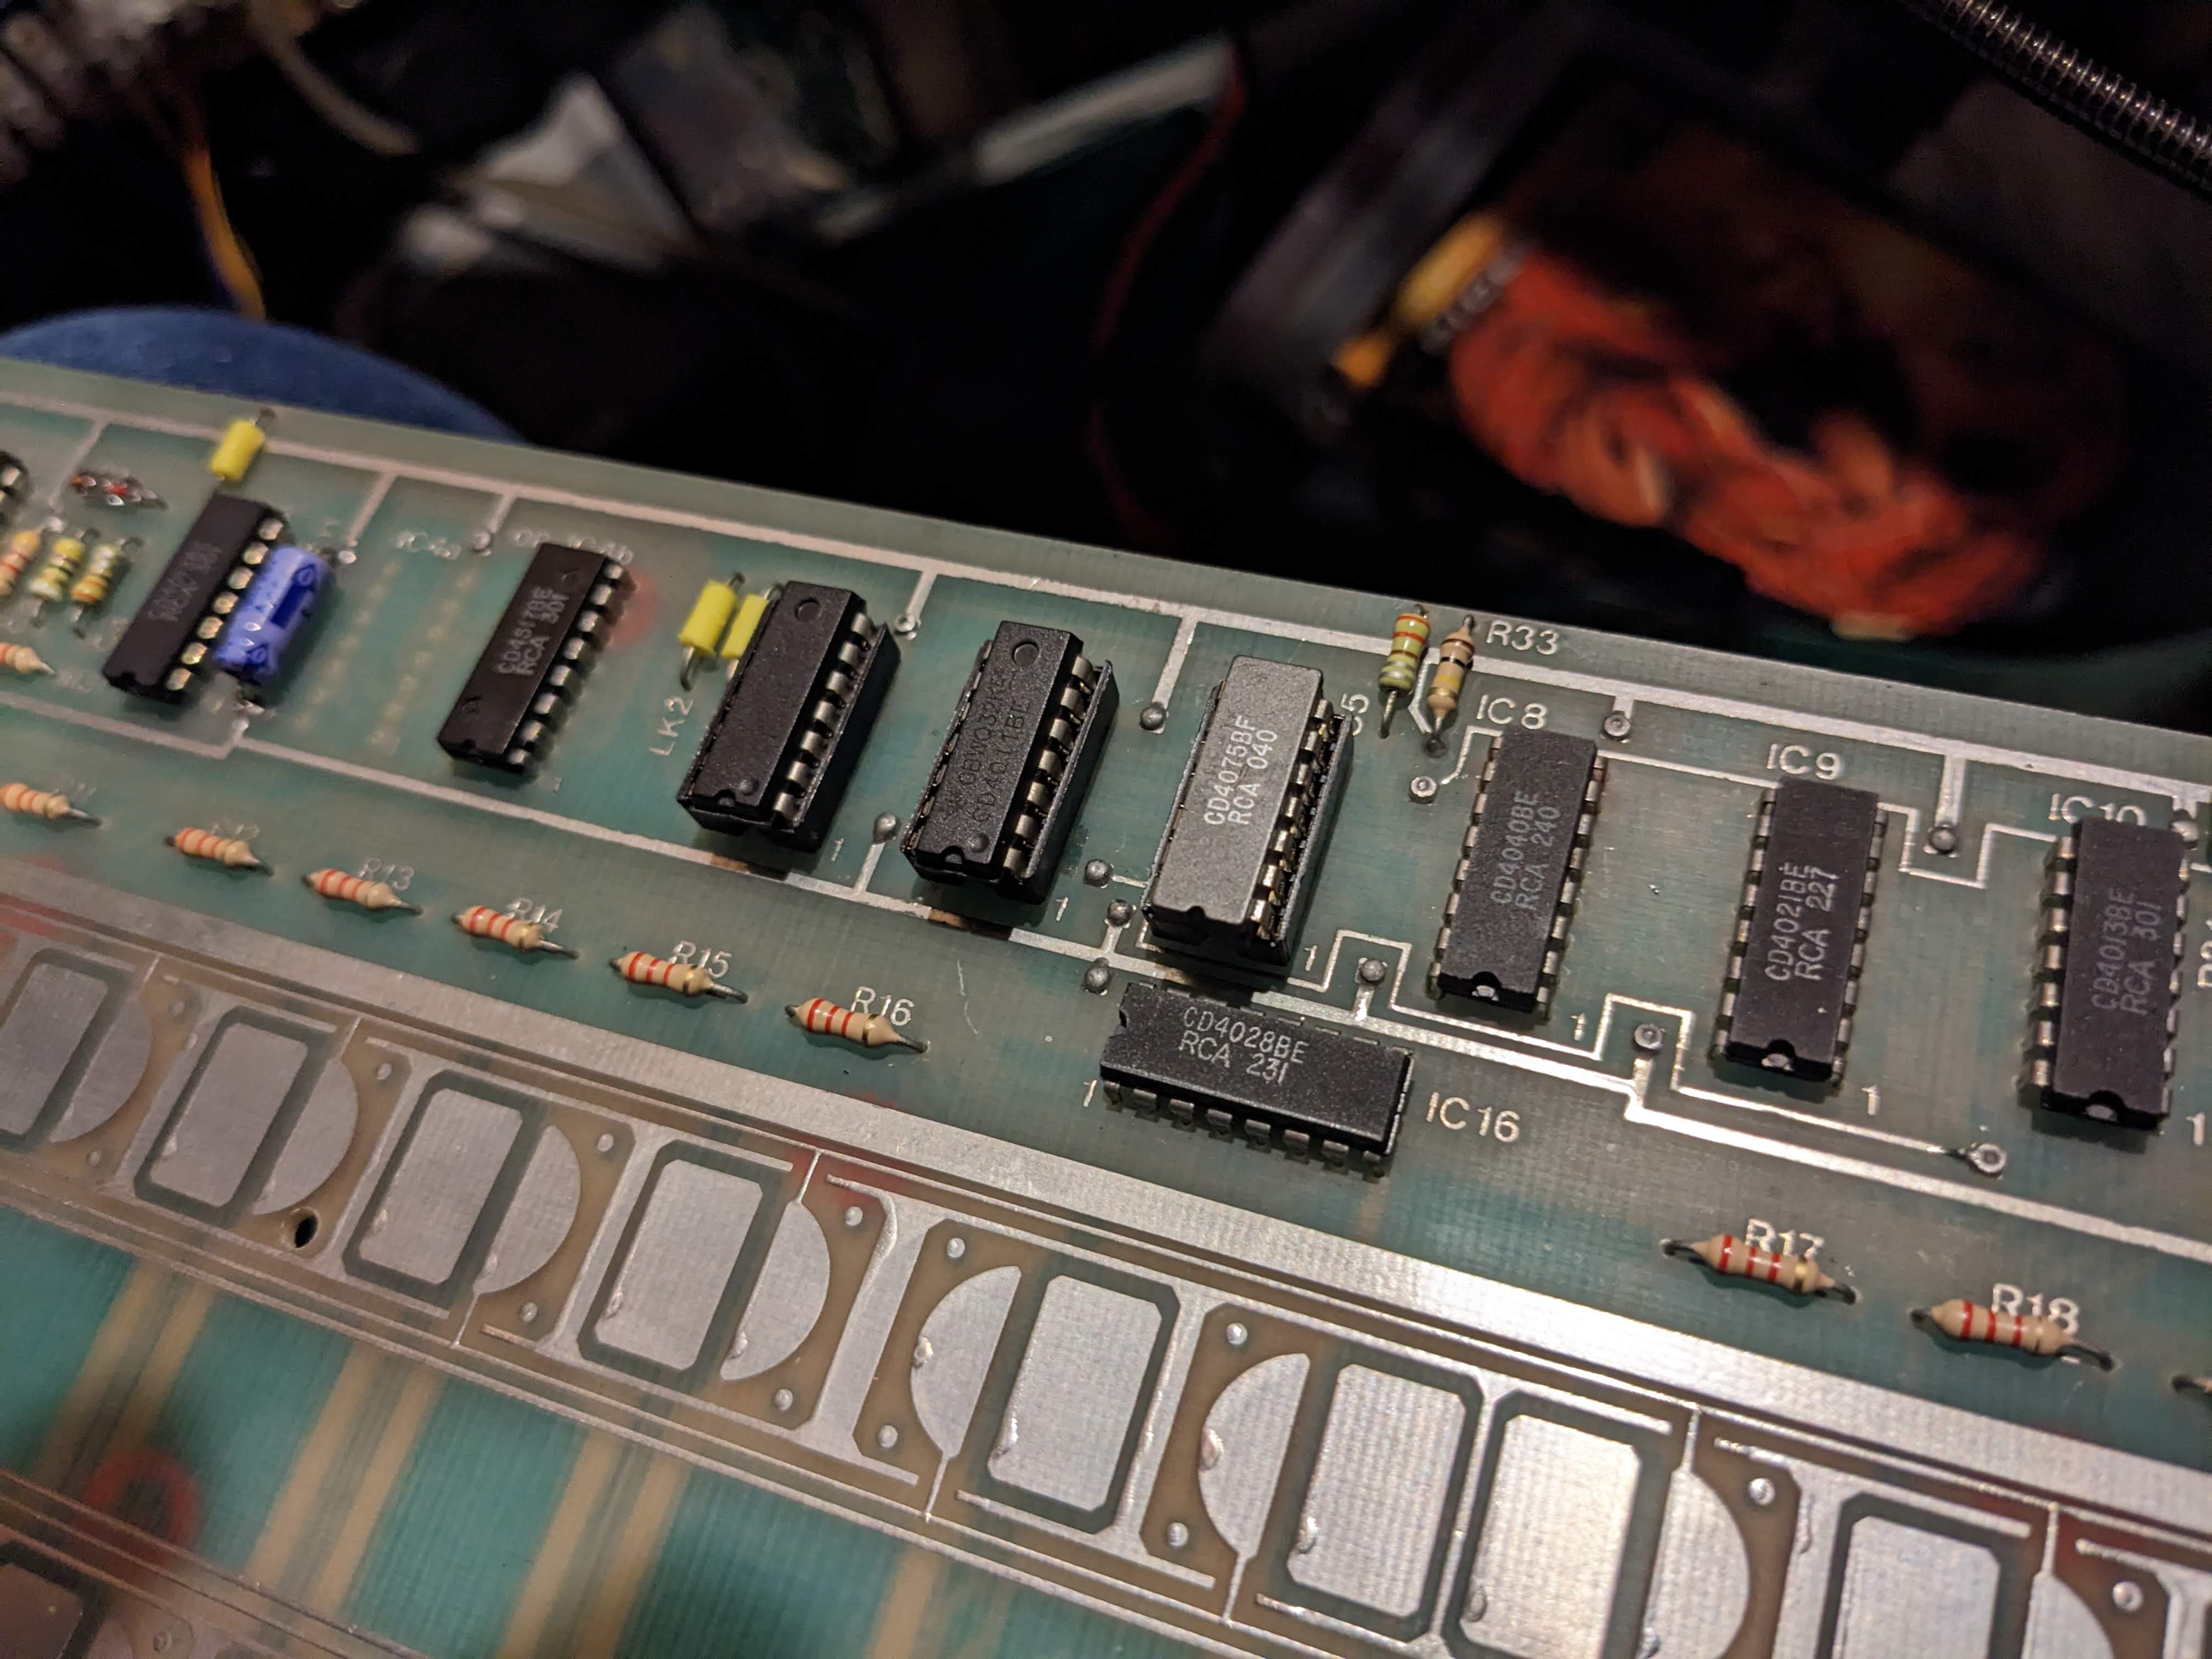
Anyway, after stripping it down I started to probe around the PCB inside. There's no membrane inside, rather there are chunky soldered pads that the conductive ends of the key stalks press down on to. Inspecting the board reveals no obvious issues or corrosion which was actually a bit of a surprise. The few electrolytic caps still look in good condition with no leaks.
 |
| It's a PCB alright. |
After a bit of probing I found a rather cool signal that changed when the key was pressed. What I did was remove one of the key stalks from the keyboard and basically stab at the soldered pads on the board. Unfortunately, I didn't note which chip I was on (or which pin) but I know it was to the left of the board.
Despite my inability to record what chip I was poking at, this was still some good intelligence as it suggested that the fault would be towards the right of the board where I couldn't find any similar signals. Then, as I was handling the PCB to change probing positions, the Cifer beeped (never heard it do that and it made me jump!) and some garbage characters appeared on the screen. This was excellent news as it meant that the keyboard was still alive for something!
 |
| Garbage on screen thanks to a good poke. |
After a comprehensive round of humanistic digital probing (I kept poking it with my finger), I worked out that if I touched the pins of IC6 or IC7 then garbage would get sent through the keyboard to the Cifer. I managed to see this on the oscilloscope which displayed the serial traffic but only when the probe (my finger) was in contact with the pins. This meant I must have been coupling something together to allow the serial circuit to fire so the main suspects were IC6 and IC7. They are a CD4011 and CD4075.
New chips were ordered and, after a bit of wrestling, IC7 was replaced. No change.
IC6 was replaced. Hmmm. A bit of a change. Touching the pins of IC6 and IC7 no longer prompted the garbage but touching IC5 did.
So, given that I had received 10 CD4011s I thought I would also replace IC5 anyway. And.... it worked. I poked at a pad with the keystalk and a letter appeared! Yes!
 |
| You have no idea how long it took to type that... (with a single keystalk on a bare pcb) |
 |
| Three chips replaced. I was close, it was IC5 at fault! |
A working keyboard should mean that I can now see if the rest of the machine is working. One thing I had noticed was that the display seemed to be shifted too far to the left. This meant that anything on the left of the screen was slightly cut off. A small issue but rather annoying.
 |
| Typing loads - but it's shifted to the left (the correct text had an extra space at the start!) |
 |
| No plastic tools available. Fortunately, there's only 12000v behind the brown plate. So that's nice. |
There are quite a few controls on the top of the CRT. These are basically various variable resistors to allow for tweaking to the picture. Normally, it's recommended that a plastic tool is used to avoid any distortion to the picture caused by a metal screwdriver and also to avoid getting your face burned off (12000v in there chaps). I don't have plastic tools so I very gingerly tweaked the 'PHASE' variable bit with a screwdriver. Don't judge me.
 |
| Picture corrected. |
At this point I should probably say that I had carefully read the manual and was fully aware of how to access the floppy drive to test. In reality I just start pressing keys until I found that 'Shift' and 'Disc' asked me to put a disk in the drive and press the RETURN key. :) A quick search through the boxes of disks revealed one with CPM on it and it was duly inserted and the correct key pressed.
And CPM booted. And just worked! Absolutely AWESOME! I am on a ROLL! Let's try the hard disks...
Nope. Nothing. Certainly nothing out of the worlds noisiest hard disk. There is a spare unit which I also tried and this is much quieter and gets to the 'READY' state much quicker. But it's still not working, although there is an error message now about the IEEE bus not being active. Interesting....
 |
| CP/M! Ah, computing as it should be. |
 |
| A zBASIC program in honour of Usagi Electric But I made an error when I copied the error... |
 |
| Hmmm. No IEEE bus.. |
So, it may be that the cable is either loose, disconnected or just making a bad connection at either end. It's the next thing to check and, if I'm lucky, may be the last fix needed to get the Cifer up and running properly. But that's for next time.
Today was a good day. :)
Oh, and in case you were wondering, EVERY key works. Who knew?
No comments:
Post a Comment