So, break out the spare A500+ motherboard and get that floppy drive plugged in. Annndd... green screen. To be fair, Agnus' socket was busted so that was the first job to sort out. I didn't have any more PLCC sockets so had to order some for a few quid from everyone's favourite, eBay. I won't go into too much detail about the socket replacement other than to say the old one had gone brittle anyway and broke off quite easily.
 |
| It's broke. |
With a new socket installed I put Agnus back in and tried again. No change so I decided to try and improve the contact of the pins on the chip by gently manipulating the bottom of the legs to push them out slightly. This would, in theory, increase the pressure of the pins into the socket. But, tragedy struck. As I gently pushed pin 81 I noticed it moved far too easily. And then, it fell off.
Oh.
 |
| Arghhhh!! |
Pin 81 is HSYNC_ and, as the name suggests, is somewhat important for making sure that Agnus can provide the relevant data at the right time to give a coherent display.
So, this is it. Agnus is toast. And these particular Agni are the 8375 version, used in the A500+. They are getting more difficult to get at sensible prices (a couple of years ago I bought a complete, non-working A500+ motherboard with chips for a tenner - now just the 8375 Agnus will set you back over £100, if you can find one).
After posting my woes on twitter, several people suggested using a Dremel (other rotary tools are available) to remove the outer casing above the broken pin and see if a replacement leg could be soldered to whatever was left of the original pin. Given that the chip was broken, I had nothing to lose. A helpful YouTube video from _C64 Customs_ also gave some useful info on what to do - although it isn't specifically about this type of chip. So, I threw caution to the wind. If it didn't work I'd still just have a broken Agnus.
Break out the generic rotary tool from the defunct UK high street electronics supplier. I used the narrowest, pointy milling tool in the box and carefully pinned down Agnus with some insulating tape.
Grinding away the casing took only a few minutes but I really took my time, allowing the tool to touch the chip very gently and then checking how much material had been removed. Eventually I had managed to expose the part of the original leg in the casing. I carefully cleaned it with IPA and a cotton bud. It was the most terrifying thing I've ever done to a vintage computer chip.
Prior to attempting to solder anything to the exposed leg, I tinned it with a little solder. I still had the original part of the leg that had fallen off so I decided to try and re-use it. It was a bit tricky to get it to stay in place so I used a piece of insulating tape to hold it. This worked pretty well and allowed a good solid blob of solder to flow between the leg and the chip resulting in what looked like to be a good solid repair.
 |
| Hole drilled, leg held in place... |
 |
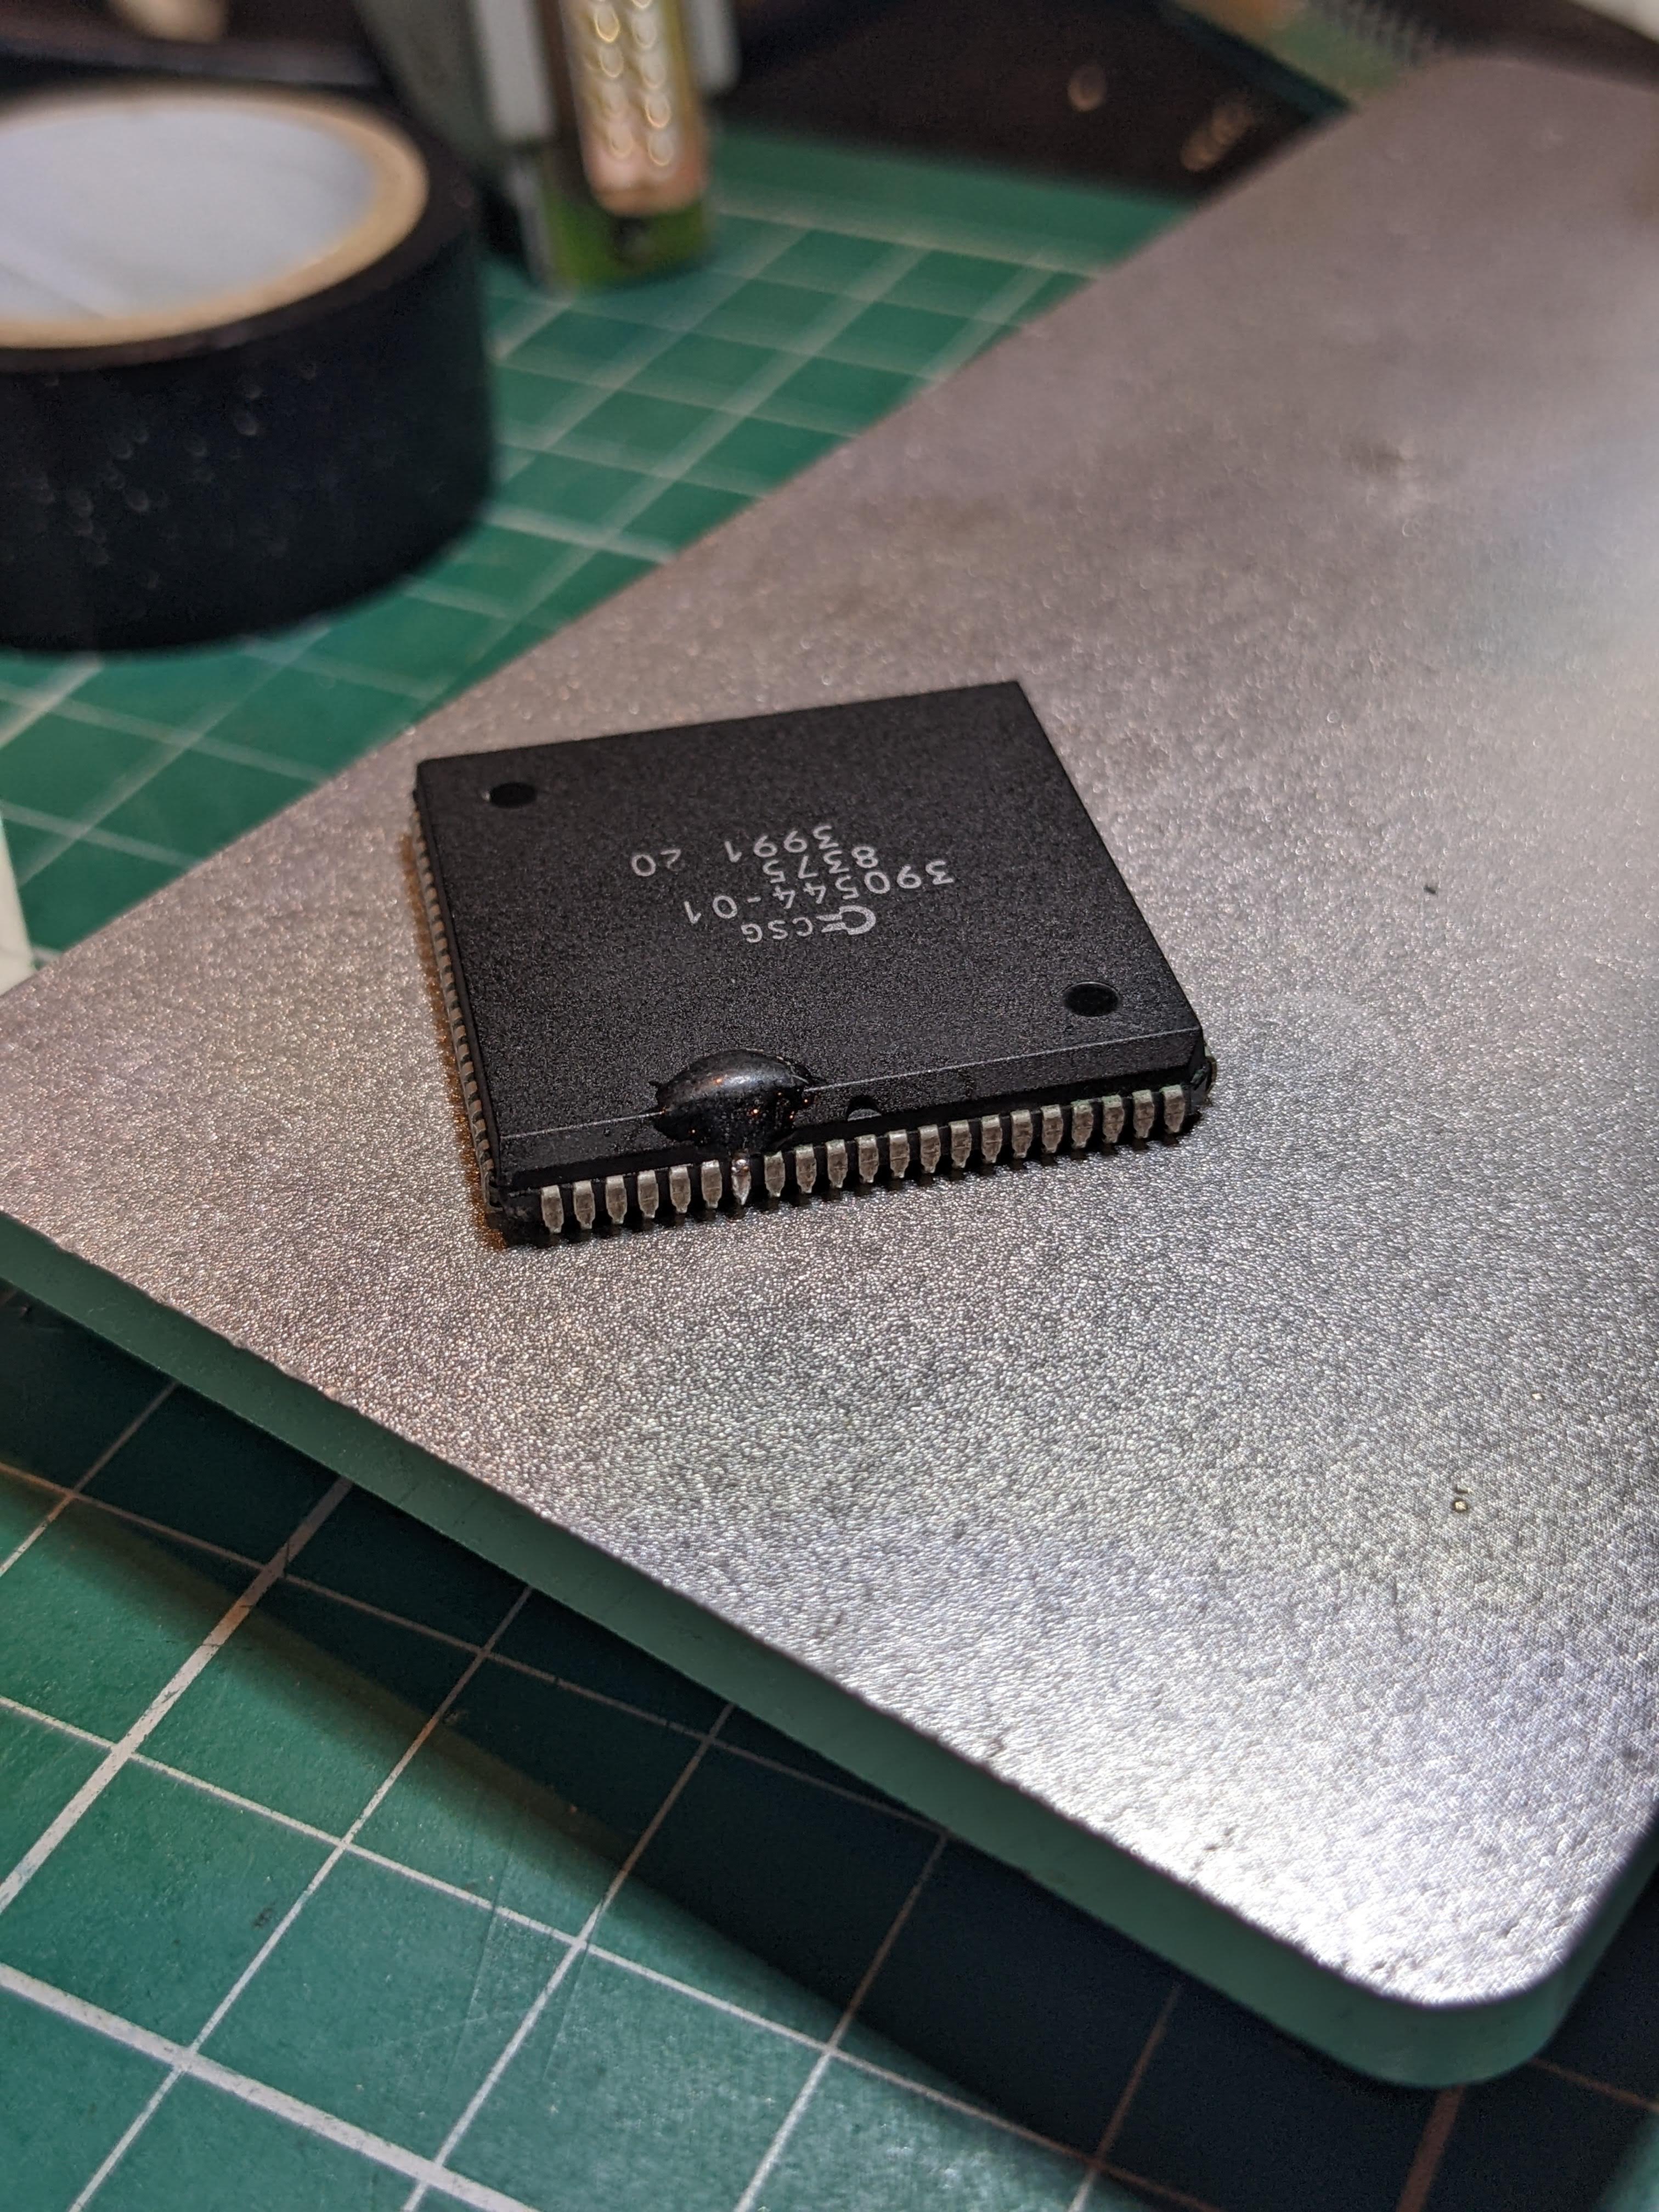
| Close up of the horror. |
 |
| Repair complete. Phew! |
 |
| Close up - a clean is required |
 |
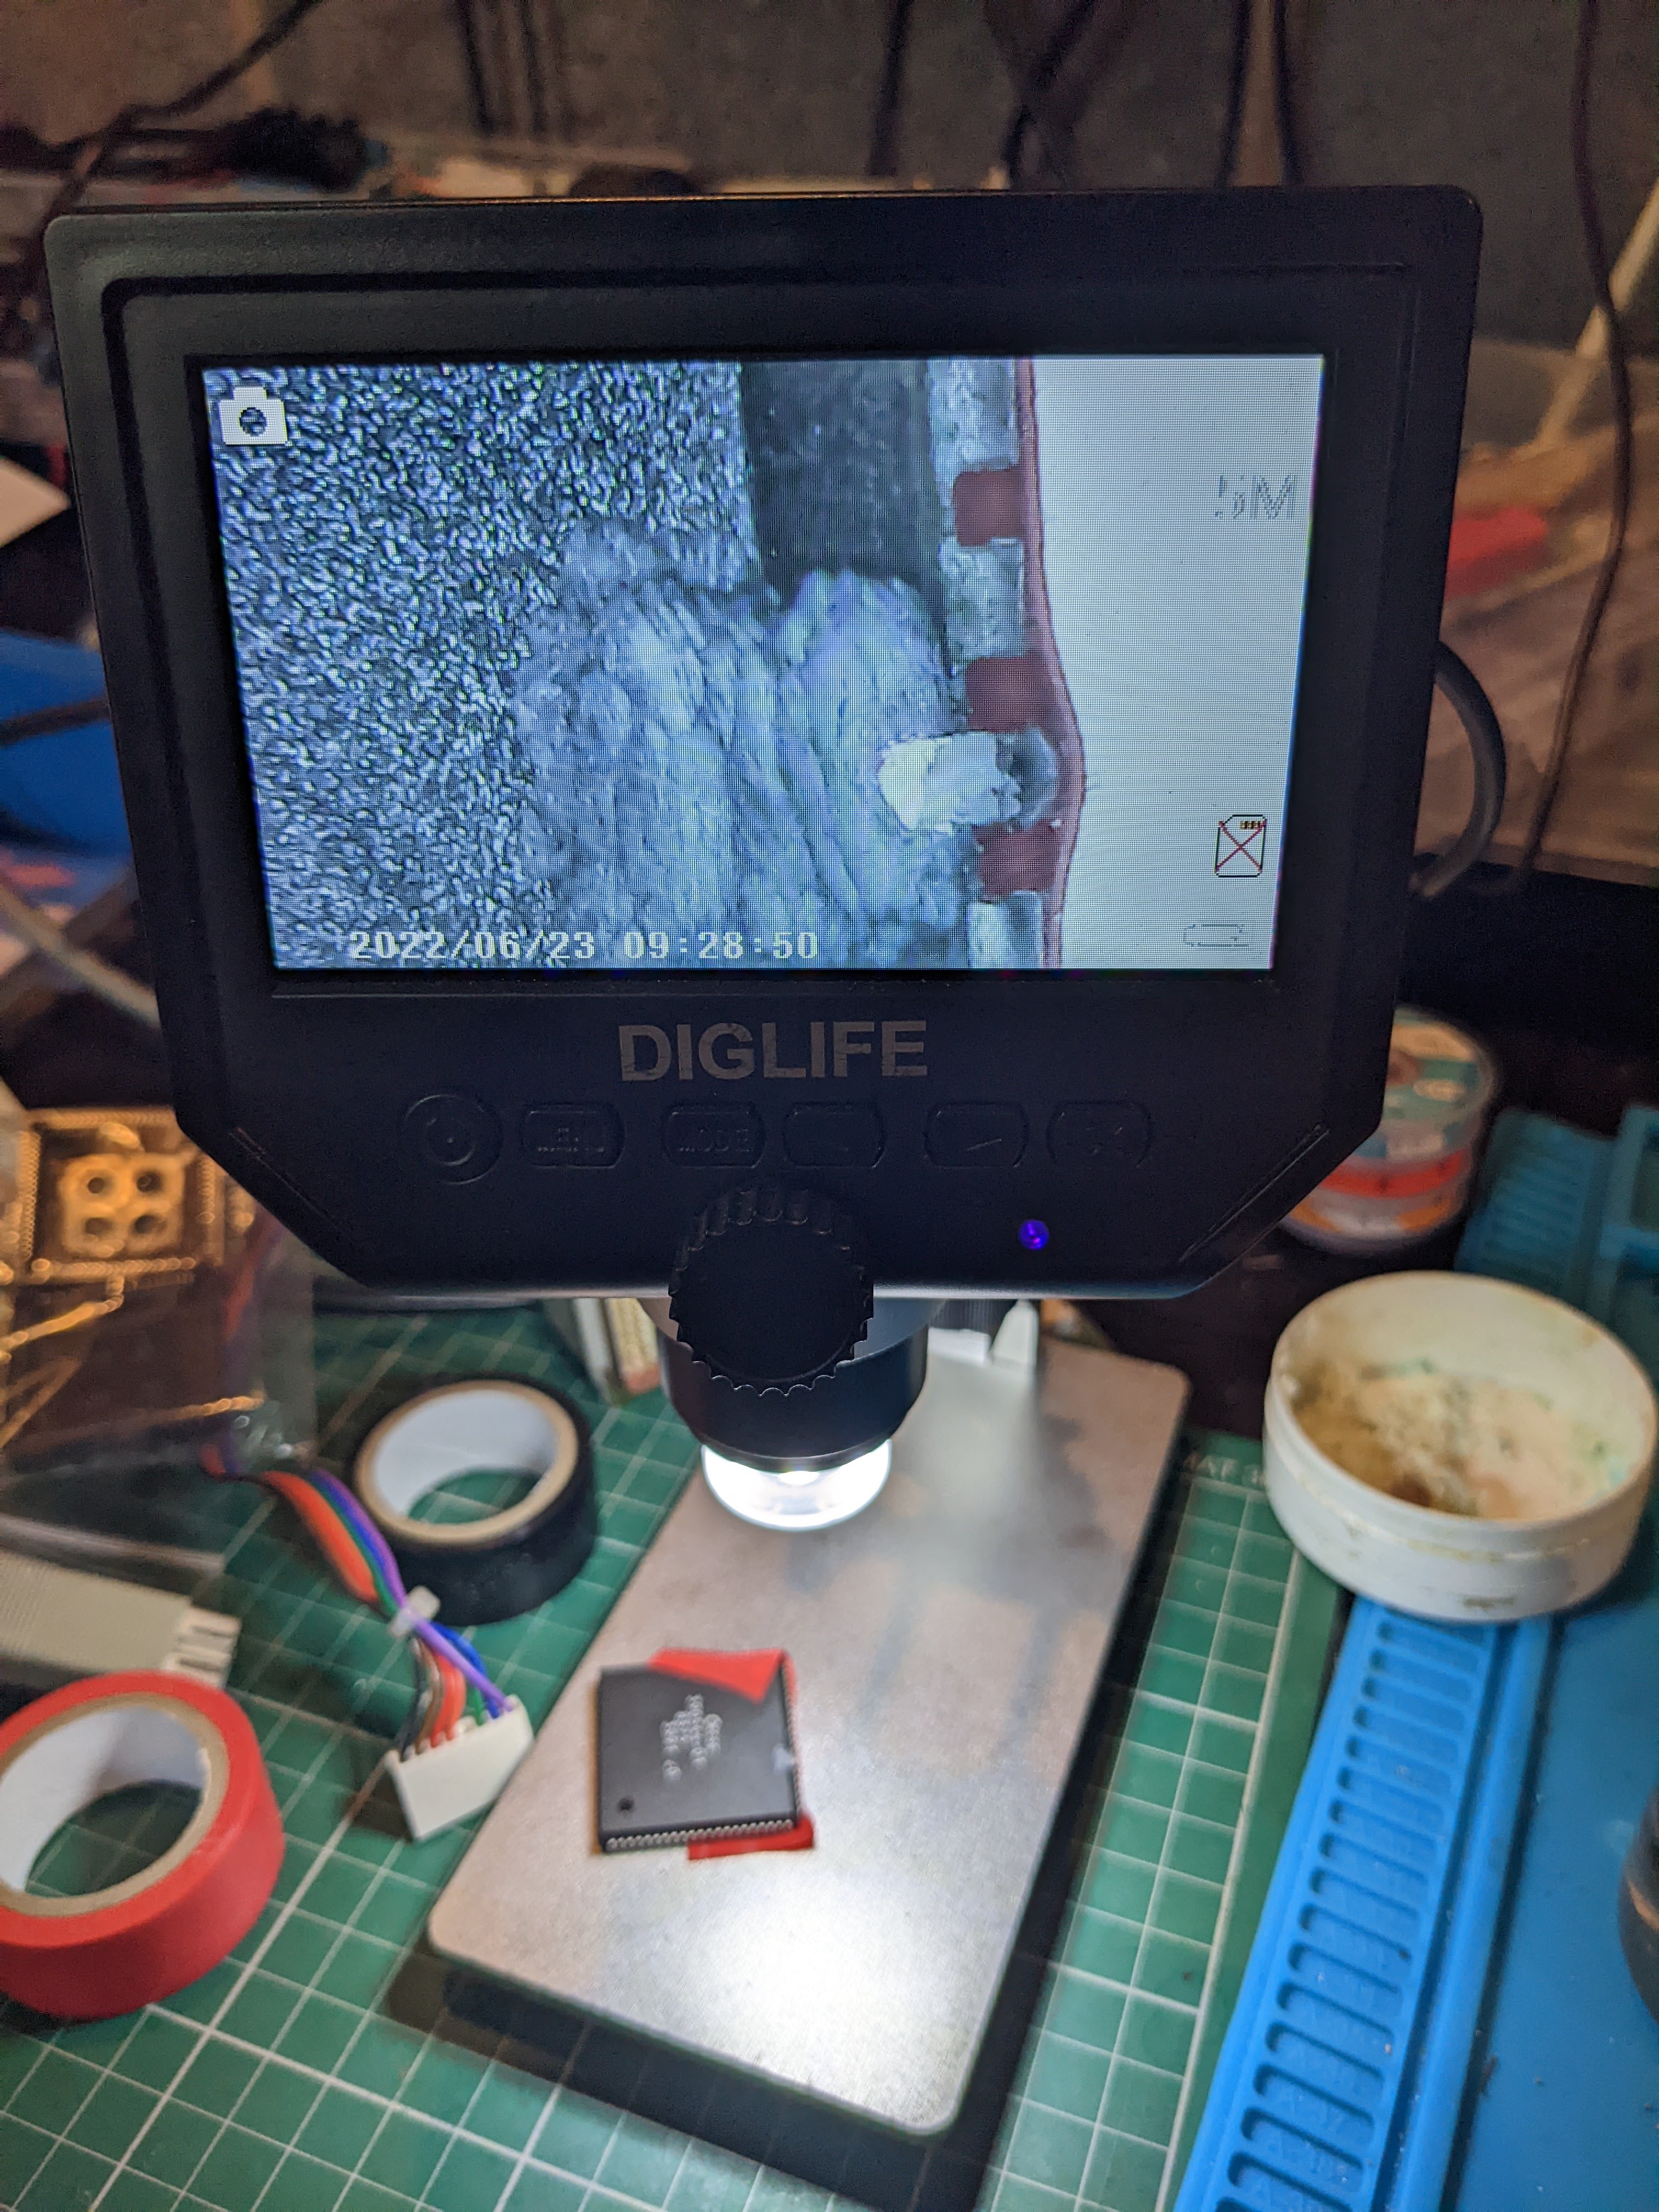
| Will it work? |
There was a big hole in the chip now, even though the leg was repaired. I did not want to leave it like this so I took some epoxy and filled in the hole. It ended up a slightly bigger 'blob' than I had hoped but I was careful to make sure that the epoxy did not interfere with the socket. These sockets are tight.
 |
| Agnus pimple |
 |
| Don't squeeze it! It'll spread! |
 |
| Epoxy cured - ready for testing |
Incidentally, it's worth noting that Fat Agnus (the original version was just 'Agnus') was the absolute largest chip that CBM/MOS could manufacture in the late 1980s. It took the original DIP Agnus and combined various additional bits and pieces - it's all about that cost reduction - including, in further updates, the ability to address chip memory up to 1Mb i.e. memory that can be directly accessed by the custom chips. Hence, Fat Agnus. The 8375 model here is the last ECS version and it can address 2Mb of memory and so is unofficially known as 'Fatter Agnus' or 'Obese Agnus'.
Now I have a slightly lumpy looking Agnus but I'm actually quite pleased with it. The repair seems pretty sturdy and, other than the pimple, looks almost new. So, to test. Well, first, I put it into the faulty motherboard and the behaviour of that board didn't change. This was a good sign as I would have expected either an unstable image or a green screen if I'd damaged other parts of Agnus. But I have been having trouble fixing that board - another future post - so I threw caution to the wind (again) and carefully removed it from the faulty board and put it into my 'daily driver' A500+ which has the most excellent A500++ re-made board, in purple.
 |
| Agnus' final resting place. |
And...
 |
| The most excellent FrogFind by Action Retro |
AGNUS IS ALIVE! Yes! And it will stay in there as I really don't want to tempt fate by trying to remove it again from a really, really tight socket.
Phew!