Anyway, as is fairly typical for this age of equipment a lot of people recommend that the capacitors are replaced. My long time readers may remember when I re-capped my (now sold) Amiga A1200 a few years ago. The principle is the same. Electrolytic capacitors dry out and become faulty or, worse, leak corrosive electrolyte over the delicate motherboard tracks.
So, if it's old tech, replace the caps. Not everyone subscribes to this view, but I do. So there.
The nice thing about the caps on the Spectrum is that they are all through-hole caps. None of that awkward surface mount nonsense here. This is 1982. The only slight snag is that most caps nowadays come in radial form i.e. the leads protrude from the bottom of the capacitors can. In 1982 most caps were axial i.e. the leads came out of each end. This makes finding exactly the right caps a bit more problematic but not impossible. In any case, there are several retro suppliers who will provide a made up kit of either axial or radial caps, such as the aforementioned retroleum.co.uk. :)
My buddy's main board is an issue 2 which has a few additional things to consider other than just doing a one for one swap of capacitors. To start with, the capacitor at position C46 is labelled incorrectly on the motherboard and has to be installed the wrong way around (according to the silkscreen). C46 is the first horizontal cap on the board on the top right of the picture below - just above the keyboard connector.
 |
| C46 Error - Don't Forget! |
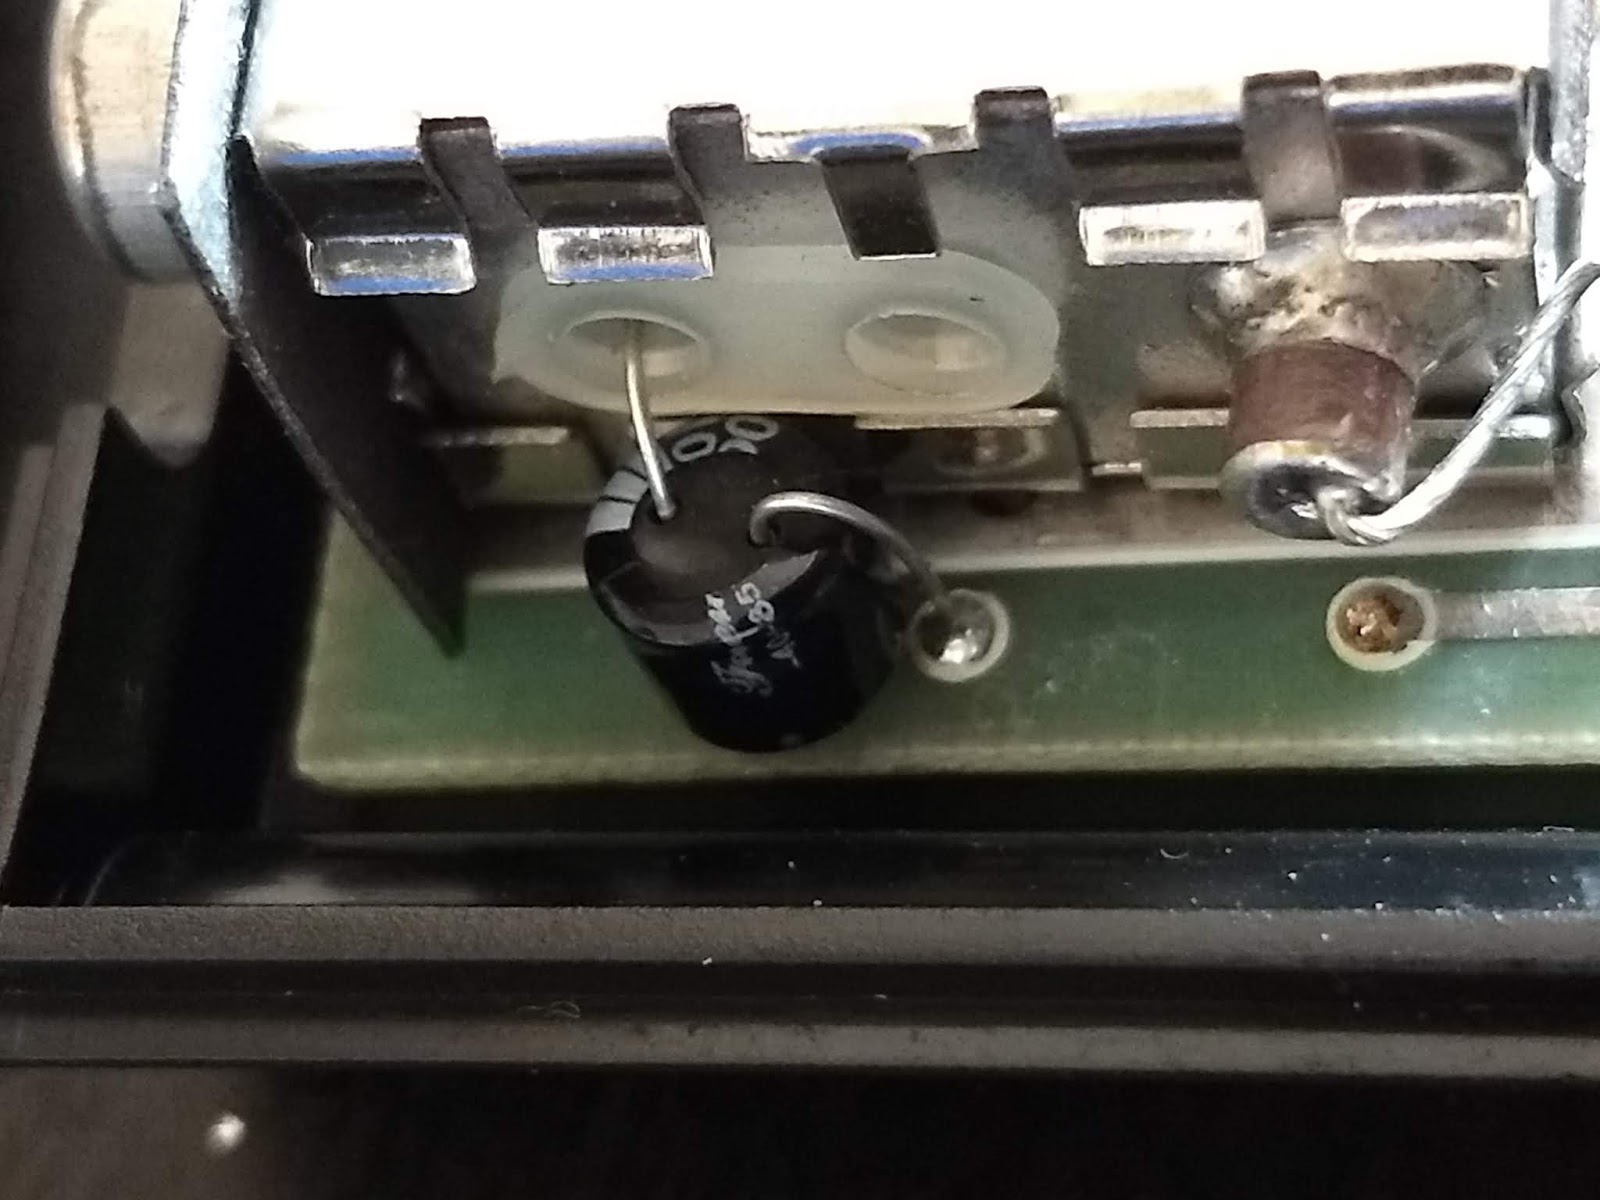
Secondly, on the issue 2 boards there was an engineering improvement made to the DC-DC converter circuit which required an additional capacitor to be added and a resistor replaced. After a bit of 'origami' with the cap leads, I managed to get it looking OK. Also note new resistor at R60.
 |
| Power Circuit Modification - Nice. |
 |
| C27 - 1uF Rated at 105 Degrees |
 |
| C47 - 22uF Rated at 105 Degrees |
In both cases, additional sleeve is added to the positive leg to prevent any accidental shorts. Double nice.
As a last touch, I decided to do a 'proper' job of the composite mod too. This meant that I removed the straight wire from the modulator that was connected to the composite signal from the board and replaced it with a capacitor. This should give slightly better results - although composite signals are never the best...
 |
| Improved Composite Video Mod |
 |
| Refurbishment - Done. Probably. |
No comments:
Post a Comment