 |
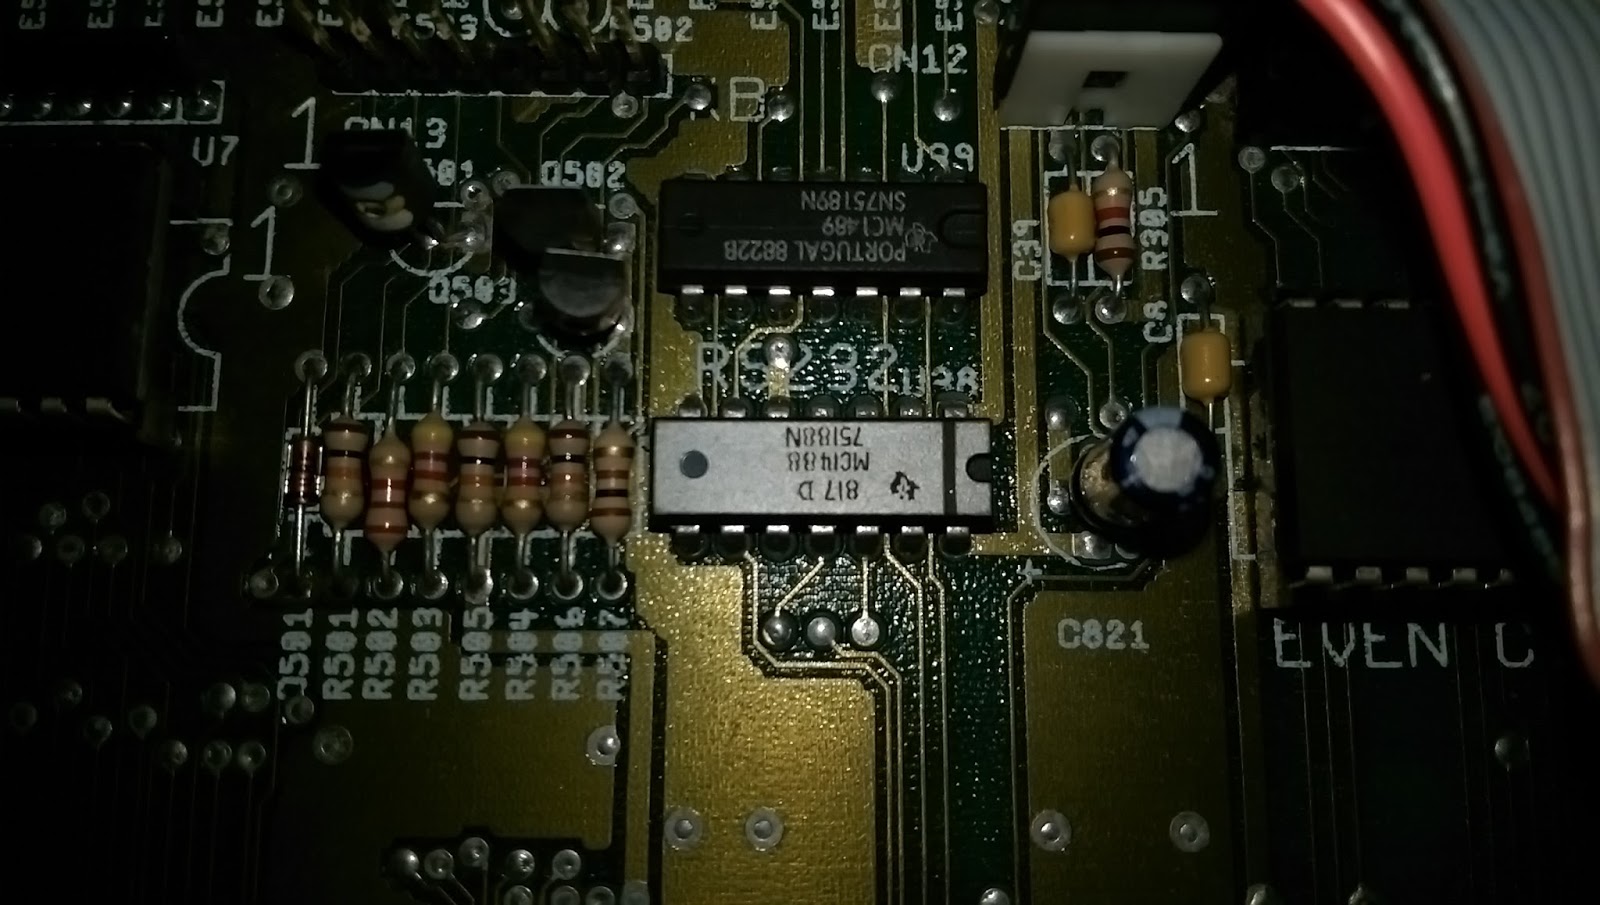
| Dodgy MC1488 Chip (the silver one) |
 |
| Ah - Dark Grey Screen on Bootup |
No worries. Just pop the top off again, press all the chips into place (the ROM and Agnus made satisfying creaking noises - normally an indication that they're not in properly) and try again. This was the result:

ARRGHHH!!! PANIC!!! ARGHHHHH! I've killed it!!
After a stiff drink and a lie down I came back to it and tried to reason things out. The screen, although rolling, is definitely green. This normally indicates an issue with the chip RAM. That was, however, a bit unlikely since I had been nowhere near that part of the board and it would be a big coincidence that a RAM chip died at that very moment. But I had read somewhere that problems with Agnus could also, in some situations, cause a similar fault.
With a spare Agnus I managed to improve things slightly. But only slightly since I now had a solid bright green screen or random coloured pixels.
 |
| Our situation has not improved... |
Appeals to the Amiga group on Facebook (hi guys!) resulted in many suggestions but the one that kept cropping up was to re-seat Agnus. But there was no point since Agnus was as far into the socket as I could push her....(can you see where this is going?)
Out of curiosity, I removed Agnus and then pushed the chip into the socket but only just so the top of the chip was proud of the socket. Sure enough, the Amiga burst back into life. The socket was borked.
In this case, ebay is you friend. Four new sockets delivered for a couple of quid.

Cue montage of me sweating over a steaming motherboard, wiping my brow, looking at schematics, reaching for tools, slurping tea etc. Pictures of my removing the socket are not included to protect the sensitive..
 |
| Socket Removed |
 |
| New Socket Inserted |
 |
| Chips Re-installed |
With a new socket, both of the Agnus chips I have now work without any issues so this socket repair is done. :)
 |
| Repaired and fully operational. |
No comments:
Post a Comment